Just over a year ago, American Cinematographer’s virtual production editor Noah Kadner offered relative newcomers to the field some words of advice, reproduced here in an edited form
1 – fix it in pre-production, not in post
However unfamiliar and unappealing this inversion of workflows might at first seem, make as many of your creative decisions as you can before you shoot. This includes models, digital characters, 3D environments, etc.. In many instances the result will be that you get a shot live on the day that looks as good as a final composited shot using post-rendered animation.
2 – get a good Virtual Production Supervisor and Virtual Art Department
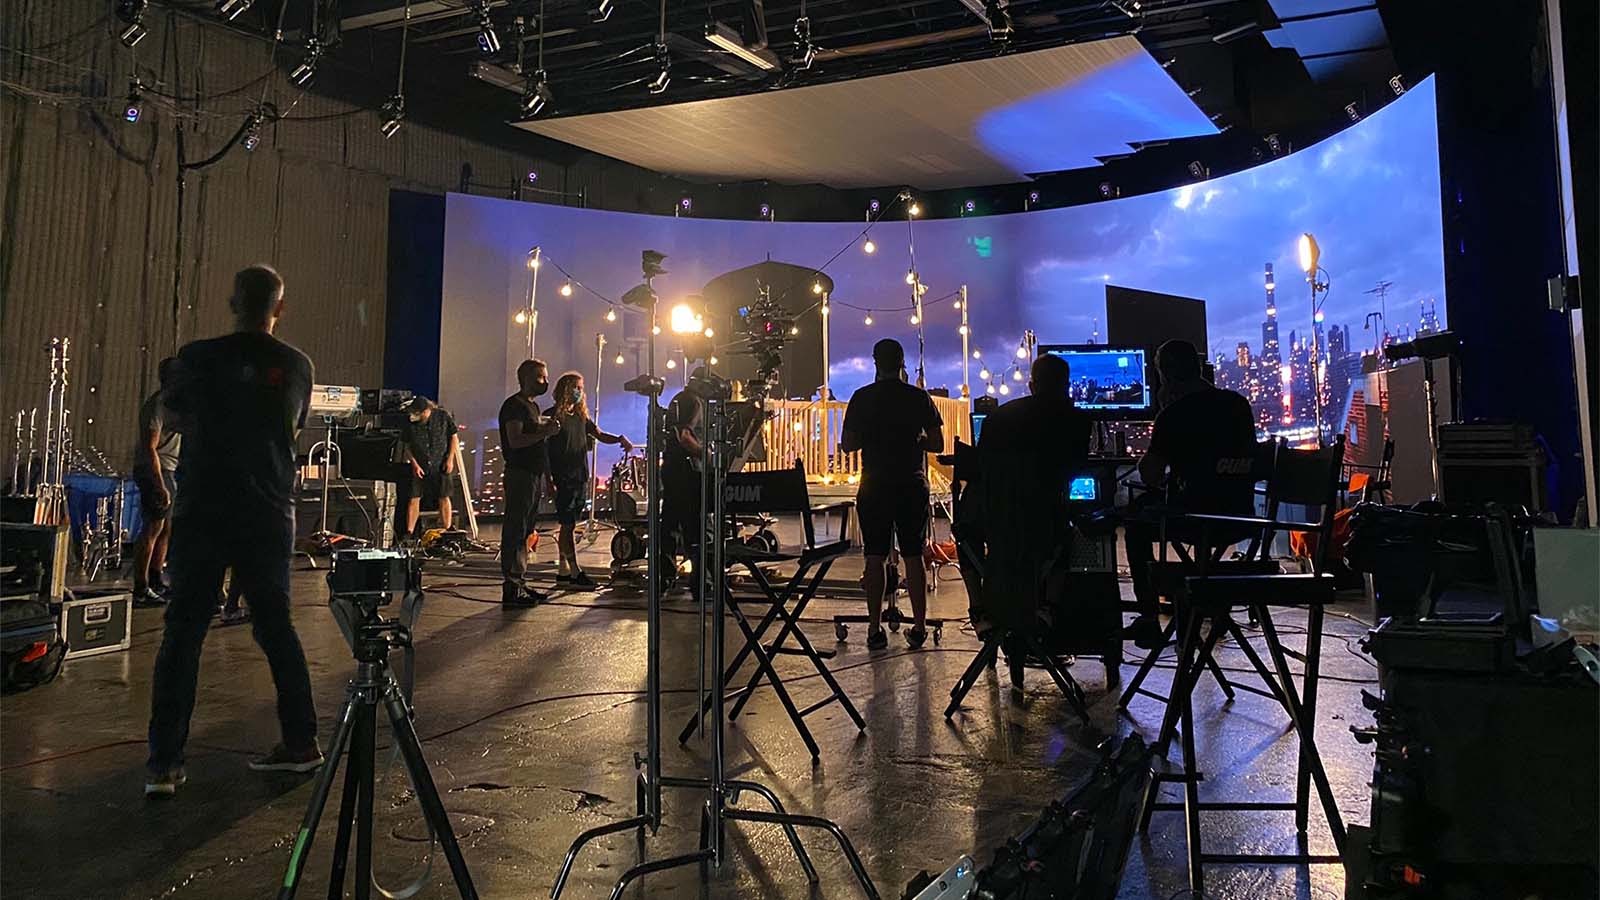
The Virtual Production Supervisor liaises between the physical production team, the Art Department, the Visual Effects Department and the brain bar (AKA the Volume Control Team). The role is a mix of VFX Supervisor and Art Director. Responsibilities include overseeing the Virtual Art Department during pre-production and supervising the LED volume itself during production.
The Virtual Art Department (VAD) is where all LED screen elements are created. VADs mix the role of a traditional art department, including physical props, with that of a team that creates digital assets.
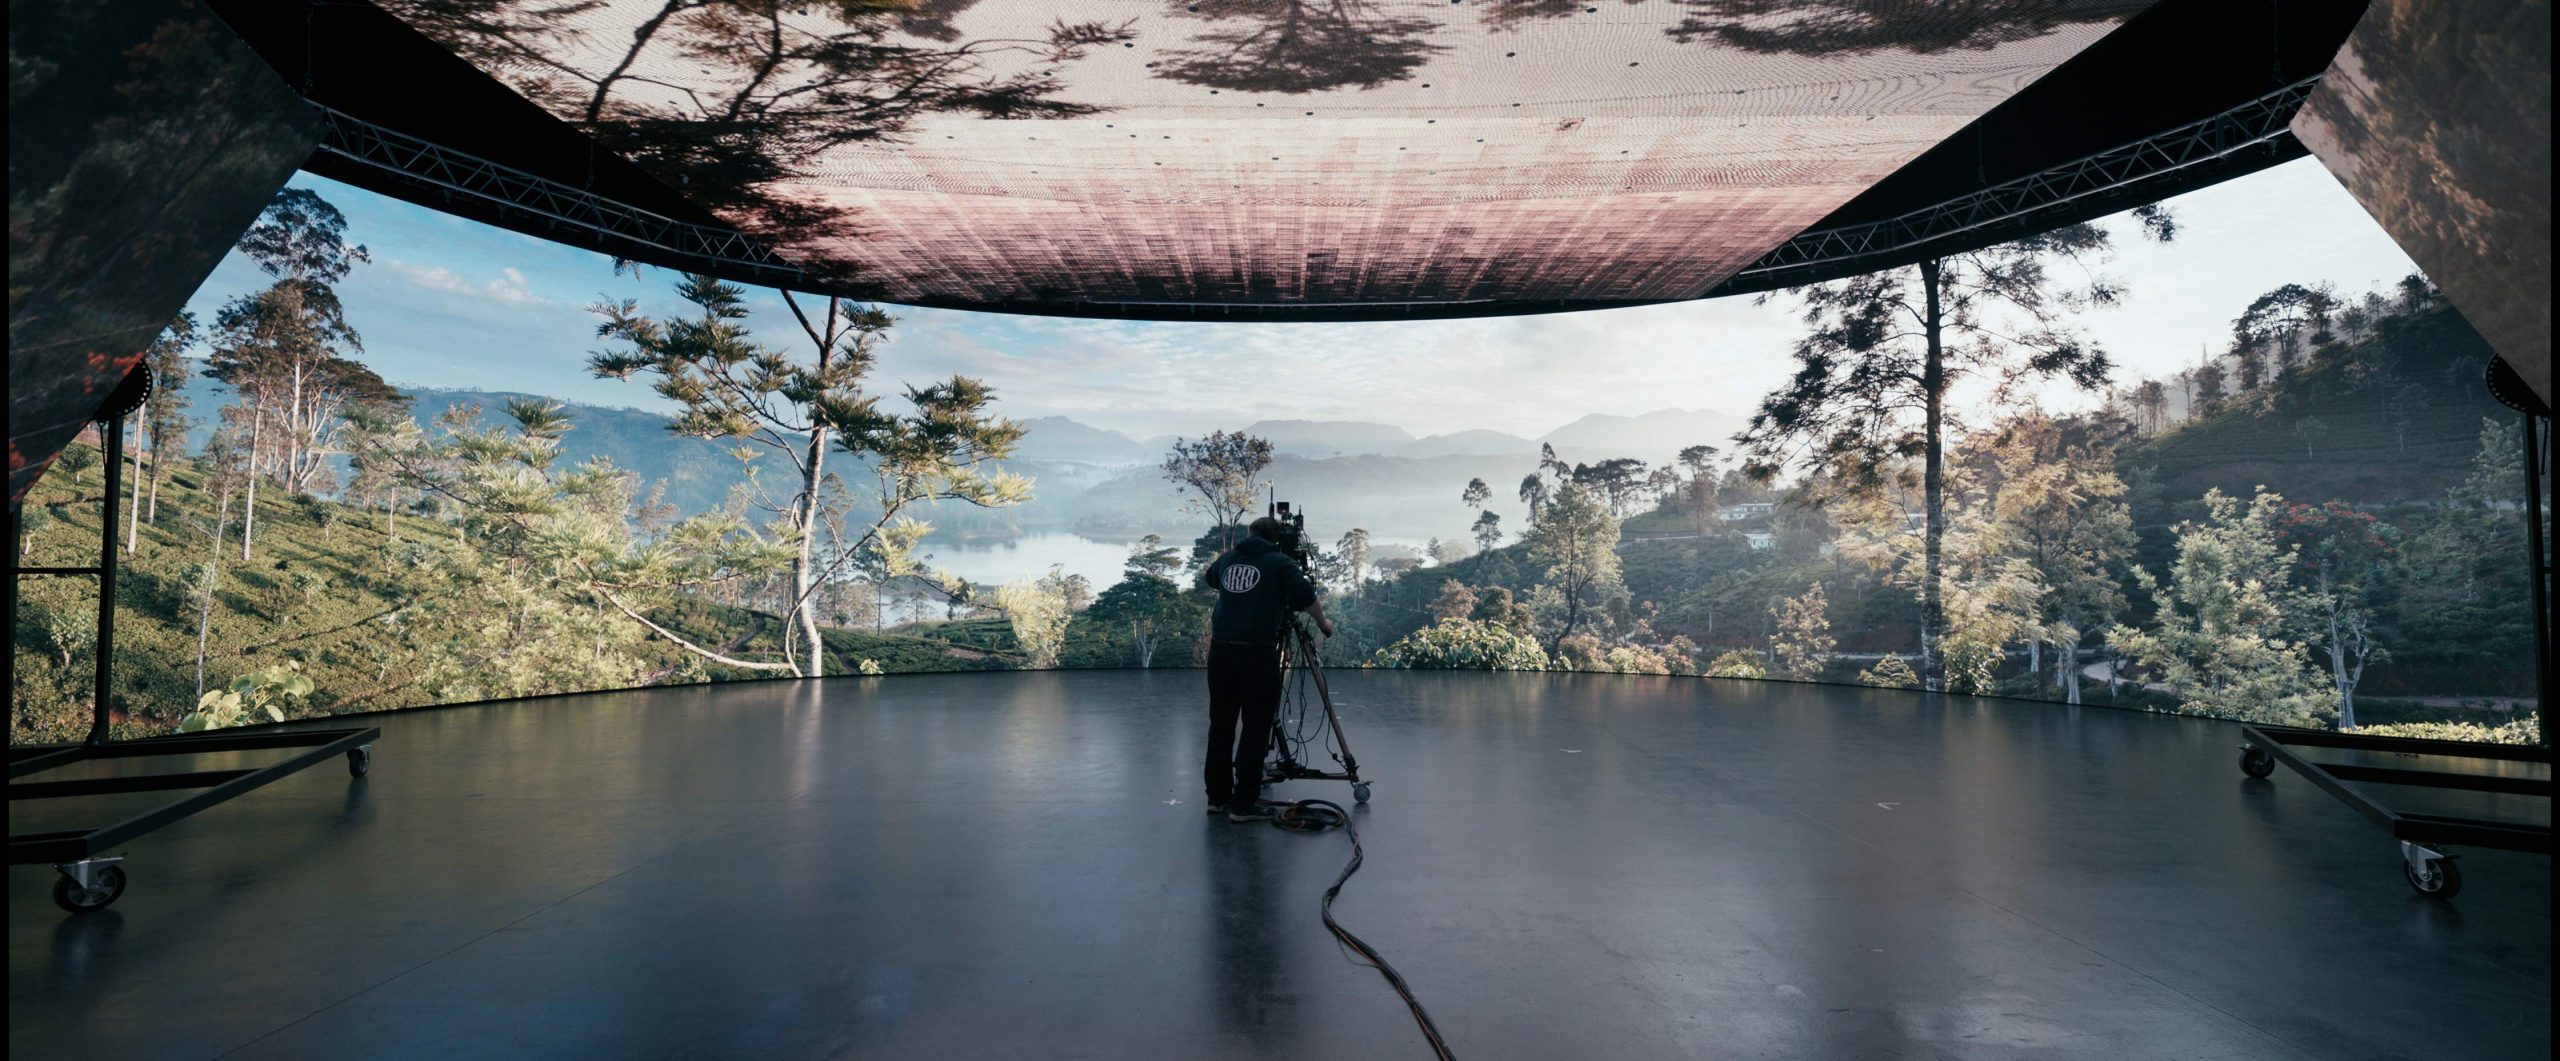
3 – use photogrammetry to create photorealistic environments
Photogrammetry is the extraction of 3D measurements from 2D data. Machine learning models can be created for this purpose and used to analyse the geometry and overlapping features of a sequence of still images pretty much in real-time.
Photogrammetry is a fairly straightforward process and it helps to create digital environments that look like real sets and locations. Epic Games’ free Quixel Megascan Library contains 3D assets, textures, and environments created using photogrammetric techniques.
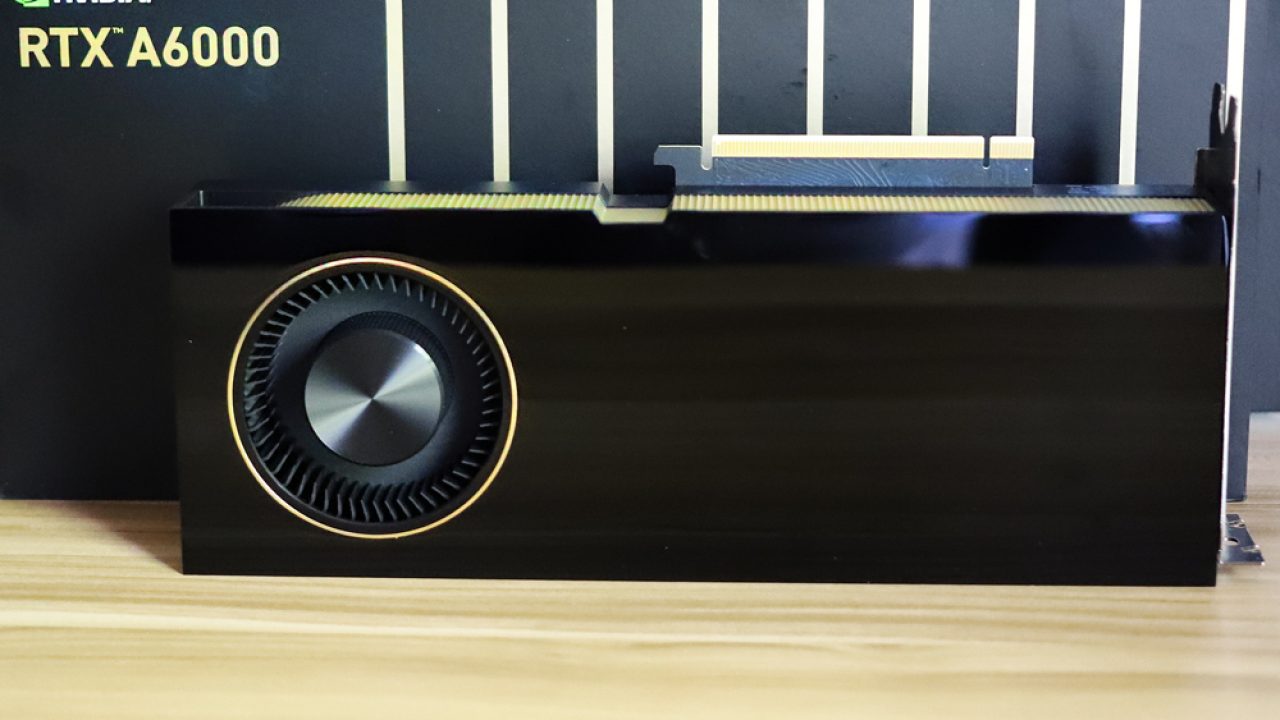
4 – spend as much as you can afford on GPU power
Getting highly detailed and realistic images on an LED Screen is GPU-intensive and the more you throw at a real-time environment the better it will perform and look.
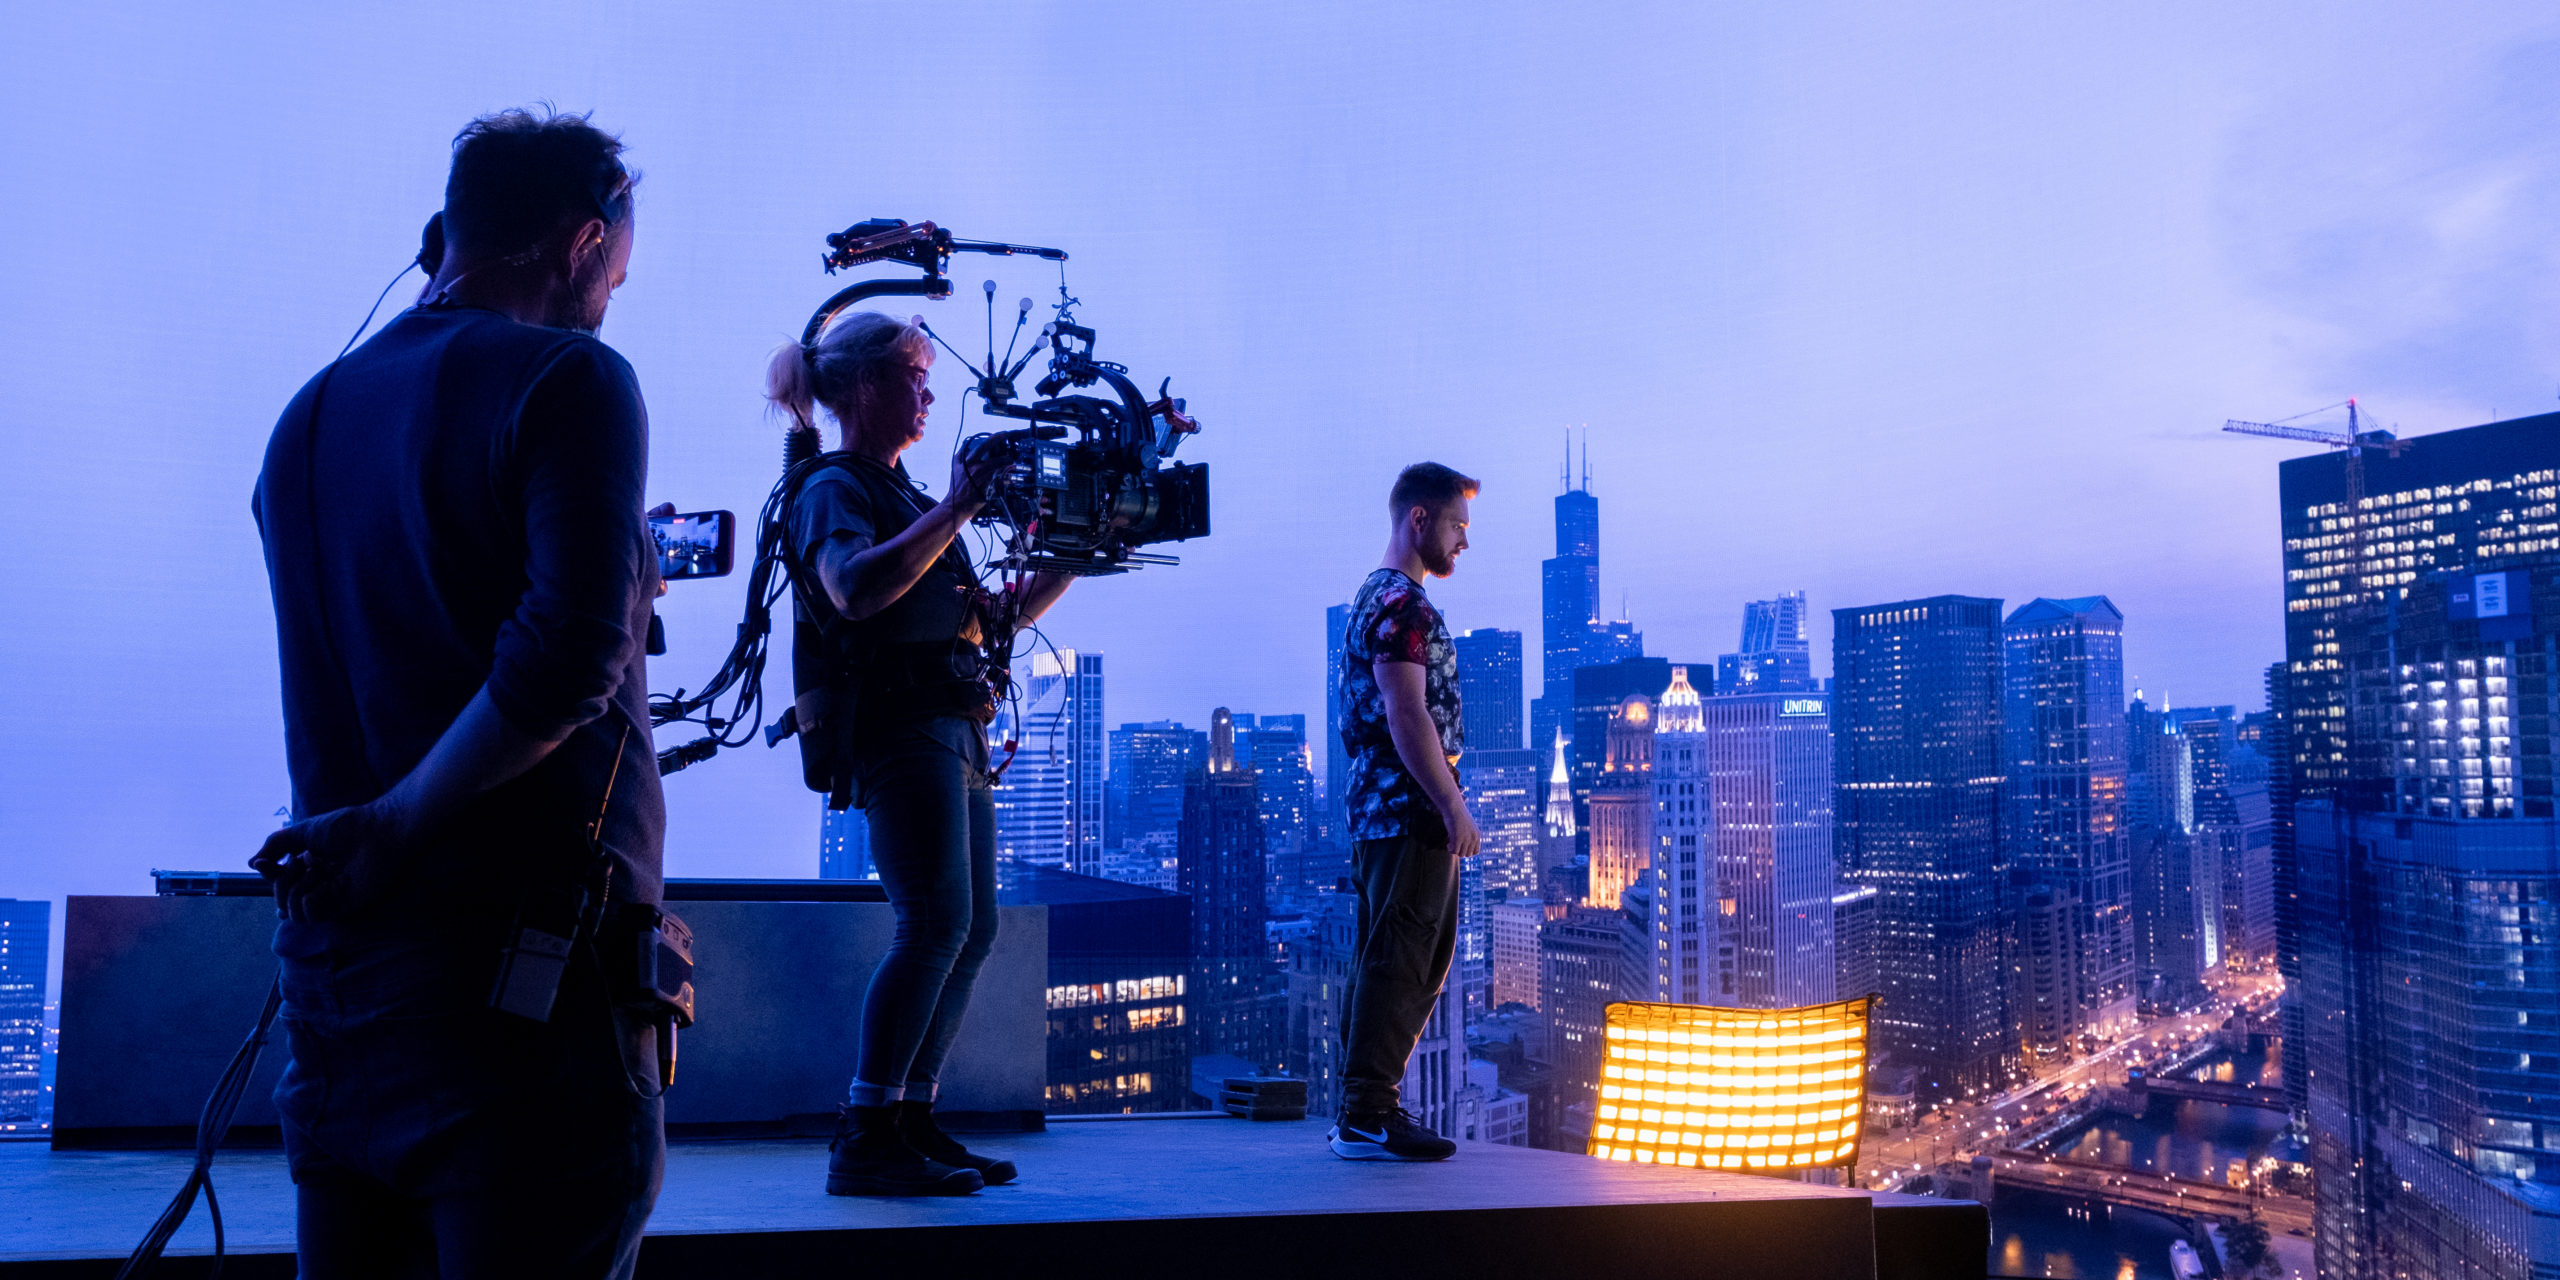
5 – the screen’s pixel pitch is important
Pixel pitch is the distance between individual LED lights on the screen and is measured in millimetres. Virtual production involves re-photographing the screen. The distance between pixels determines both the displayed image’s detail and how close the camera can be to the screen.
Low density screens can display a moiré pattern, which occurs when the image sensor on a camera conflicts with the pattern created by the spaces between the LED lights on the screen. Moiré can also occur when a camera focuses in too close on a high pixel density screen. This problem is most acutely felt by smaller stages using older screens with coarser pixel density.
In 2022, a high-end LED panel for use in virtual production has a typical pixel density of 1.5mm.
Ultimately, a combination of pixel pitch, camera-to-screen distance, focal length, focus plane, camera sensor size, and content resolution determine whether your footage shows a moiré pattern or not.
6 – decide how much LED volume you need
Large LED volumes are as seductive and alluring as luxury car showrooms. You can get exactly what you want or need, at a price point that is often cited as an early, perceived barrier to entry for many virtual production aspirants.
A simple high resolution, photorealistic rear projection screen might still suffice for driving and flying shots while a completely enveloping environment integrated with a foreground set might be needed for something on a much larger scale.
Volume size and form impact interactive, emitted light. Actors can appear as dark silhouettes if not correctly lit. LED side walls and ceilings cast a much more even light that is easier for the on-set creative teams to control
Sources of emissive lighting falling naturally on a subject, listed from best to worst:
- Hemispherical dome
- Half-cube
- Wall with wings
- Single wall
Even on a single wall stage, creative things can be done with interactive lighting. Pixel mapping and DMX can turn regular LED full-colour lights into very passable peripheral LED panels.

7 – embrace DMX lighting
Digital Multiplex (DMX), a protocol for controlling lights and other stage equipment, can be used to turn movie set lights into effects lights for LED volumes. Use DMX to programme lighting cues and colours in Unreal Engine from a lighting desk.
Use pixel mapping to mimic the colour and intensity of a scene using any light, for example passing car headlights, street lamps and rear lights in a wet, nighttime driving scene. DMX controls the lights based on the footage, so everything is accurate, synchronised, and repeatable.
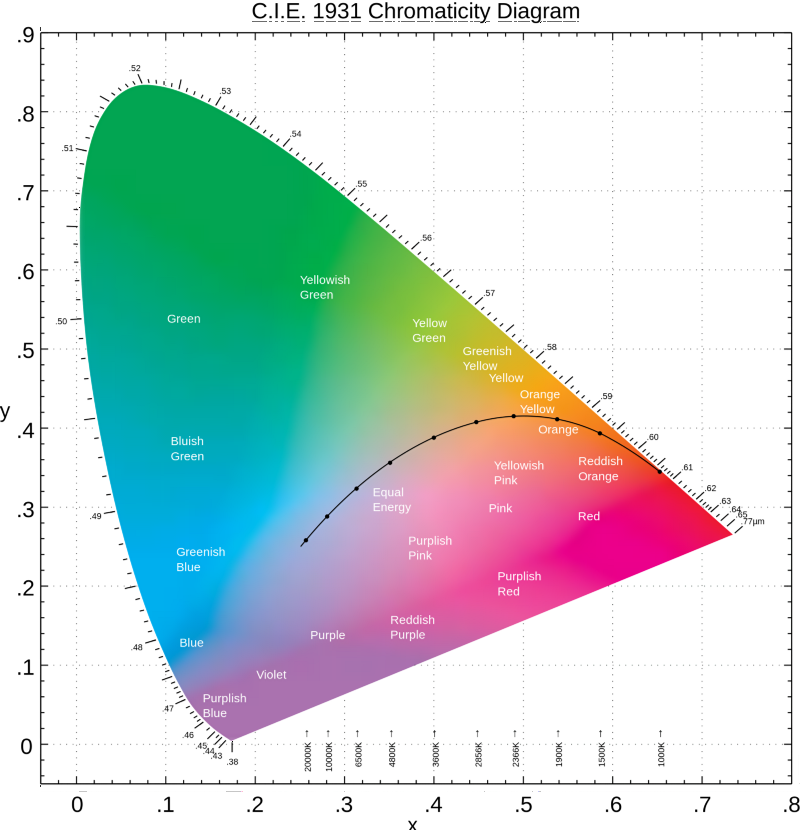
8 – pay attention to colorimetry
Colorimetry is all about measurement and sits at the heart of colour science. Understanding colorimetry in the context of both camera and screen is essential when shooting on an LED stage because you are using one digital device to capture and reproduce the output of another.
Not paying attention to colorimetry can produce visual artefacts such as reduced colour gamut and flat, unrealistic-looking imagery.
Light from LED screens can fall in unexpected and unwanted ways depending on what surface it falls on. Watch out for metamerism, where the visual appearance of an object changes depending on the spectrum of light illuminating it. LED panels are designed to be looked at directly, not act as lighting sources. Spikes in the colour spectrum can result in colour shifts on costumes and props and waxy or unrealistic-looking flesh tones.
LED panels with better full-spectrum colour science are beginning to emerge and examples were on show at IBC 2022.
The colour space – 8-bit, 10-bit, or 12-bit – of an LED wall, camera lookup table (LUT) and whatever is driving the onscreen content is very important. With these in mind, large, high-quality, colour-accurate HDR monitors are used on-set to evaluate the in-camera image.
Understanding how the colour spectrum works and where its challenges are within an LED volume is fundamental.
9 – be relaxed about not capturing every shot in-camera
Final shots are not always captured in-camera every time. For example, ILM admit to getting about 50% on The Mandalorian. Typically, when Noah Kadner’s original article was written, shots captured in an LED volume ranged from “ready to edit” to “requires some additional enhancements”. Things may have changed in a year, the technology is that fast-moving.
VFX supervisors with LED volume experience agree that it’s easier to fix visual issues with in-camera effects shots than to start with green screen cinematography and add the background in post.
10 – everything is changing, improving and it’s happening quickly
In an industry that’s been used to slow evolution for decades, it’s good to be experiencing a genuine revolution in the way high-end content is made. The process involves changes of gear and direction, sometimes simultaneously, and there are currently no perfect plans or definitive answers. Challenges are being overcome today far more quickly than they were, say, a year ago.
GhostFrame, which uses sync offsets to show different imagery on the same LED screen to multiple cameras, is one virtual production technology feature that proving popular, and is available as an option on Pixotope’s system.
If you are also relatively new to virtual production, or started early and now want to up your game, contact Mondatum for advice and consultancy on how to get started or shift up a gear.
Source: Frame.io Insider